
I initially printed this undertaking in my blog. Right here I’ll clarify every step in additional particulars.
{Hardware} acceleration on the edge is revolutionising how we strategy pc imaginative and prescient, machine studying, and high-performance computing. Nonetheless, bridging the hole between software program improvement and FPGA {hardware} can usually really feel like a frightening job.
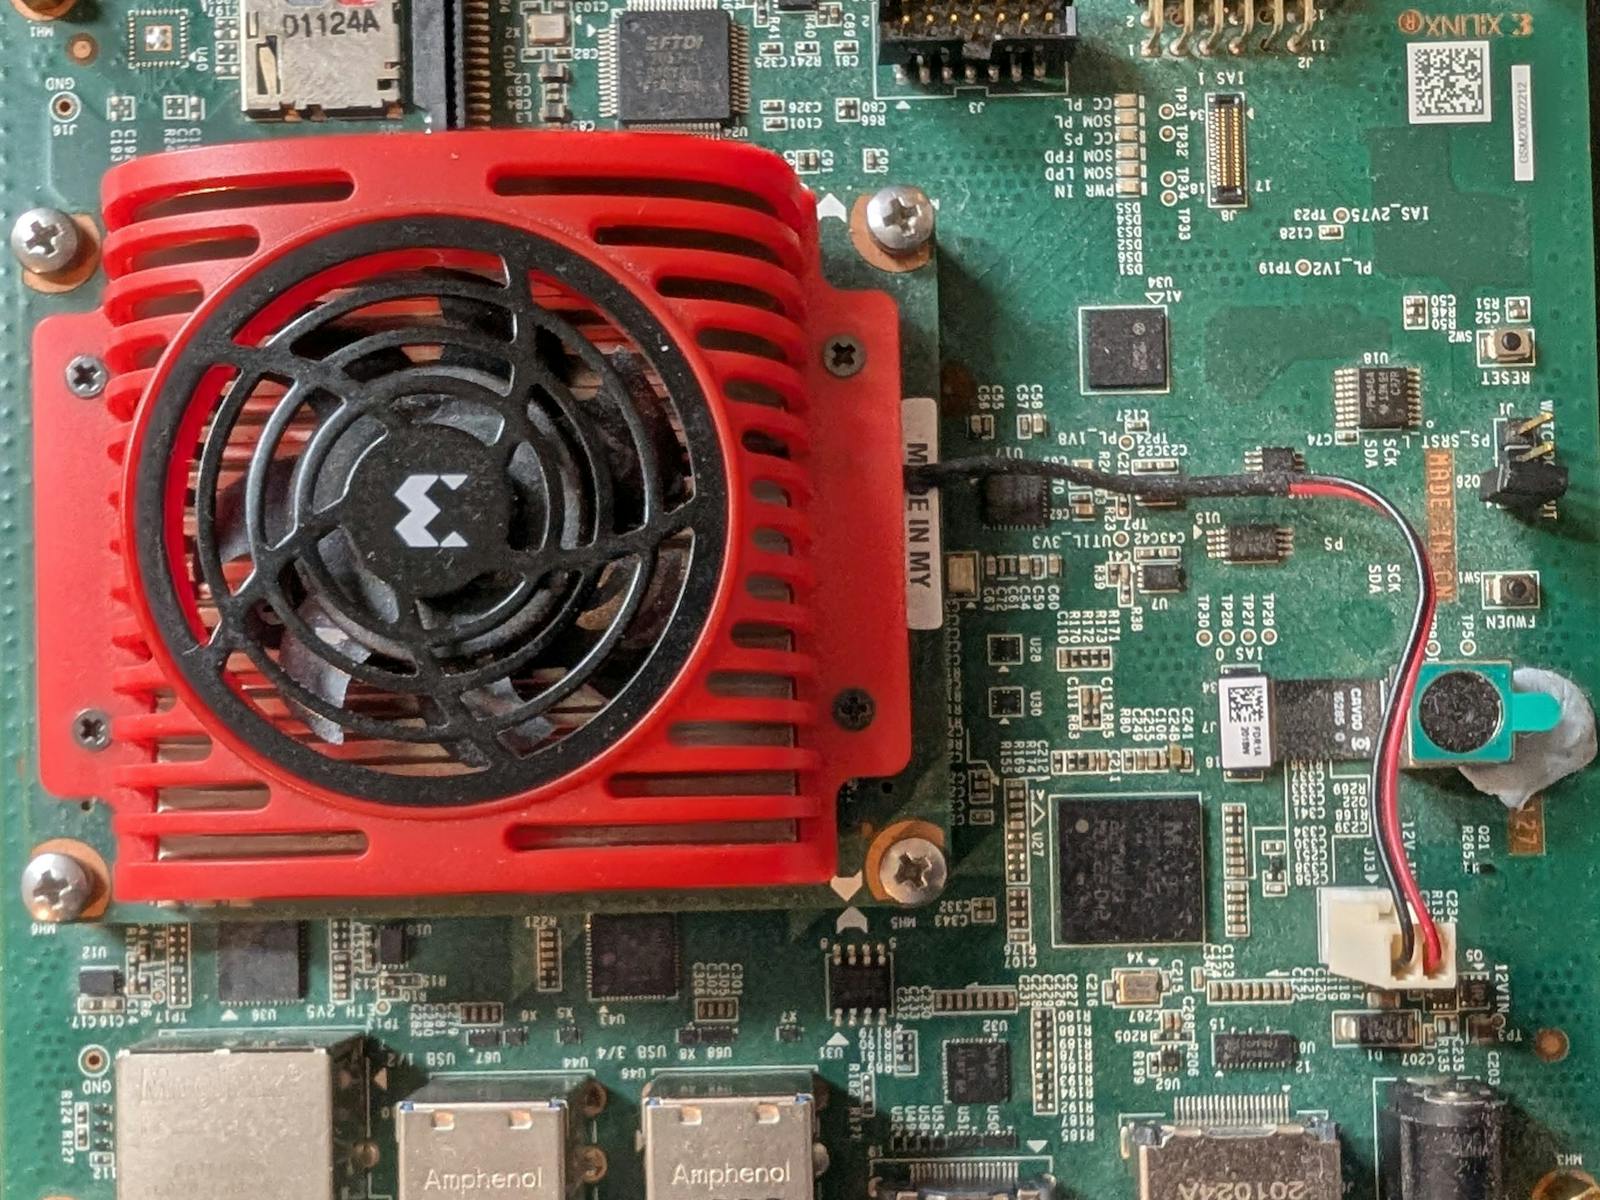
On this complete information, I’ll demystify the method by strolling by means of easy methods to construct, deploy, and run a customized {hardware} accelerator utility on the AMD Kria™ KV260 Imaginative and prescient AI Starter Equipment. To realize this, we will likely be leveraging the cutting-edge capabilities of the AMD Vitis™ Unified Software program Platform 2025.2.
The Whats up World of {Hardware} AccelerationTo maintain issues sensible and targeted on the toolchain mechanics, we are going to use the Easy Vector Addition (vadd) accelerator instance offered natively inside Vitis. It’s the excellent ‘Whats up World’ for {hardware} acceleration, permitting us to focus totally on mastering the deployment pipeline with out getting slowed down by overly advanced algorithmic logic.
The entire end-to-end improvement workflow is damaged down into 4 manageable, bite-sized phases:
- Getting ready the KV260 SD Card: Establishing the foundational Linux setting and boot firmware required to host our accelerated functions.
- Growing the Vector Addition Utility: Navigating the Vitis 2025.2 unified setting to compile our host code and synthesise the {hardware} kernel.
- Transferring Generated Recordsdata to the KV260 Board: Seamlessly transferring our compiled binaries, bitstreams, and {hardware} xclbins over to the goal edge system.
- Operating and Verifying the Utility: Executing the code on-target to witness the {hardware} acceleration in motion and validating the outcomes.
Earlier than diving in, guarantee you’ve your Kria KV260 package prepared alongside a improvement machine working the Vitis 2025.2 suite.
Setting Up Your Growth AtmosphereBe aware on Required Experience: This tutorial is designed for builders who already possess a foundational familiarity with Linux command-line operations and primary FPGA improvement ideas. If you realize your approach round a terminal and perceive the core ideas of {hardware}/software program co-design, you’re prepared to start.
To efficiently compile {hardware} accelerators and construct the software program stack in AMD Vitis™ 2025.2, a sturdy Linux setting is required. Relying in your present {hardware} setup and private workflow preferences, there are a number of viable paths you may take to comply with together with this tutorial.
You’ll be able to full this information utilizing any of the next improvement environments:
- Native Ubuntu Linux Set up: Operating Ubuntu immediately in your major workstation for max efficiency and direct entry to {hardware} sources.
- Twin-Boot Configuration: A devoted Ubuntu partition alongside your present working system, permitting you to change environments upon booting.
- Digital Machine (VM): Operating Ubuntu inside a hypervisor (akin to VMware or VirtualBox) on prime of a Home windows or macOS host.
- Home windows Subsystem for Linux (WSL2): A light-weight, extremely built-in answer for working a local Ubuntu setting immediately inside Home windows 11 with out the overhead of a conventional digital machine.
For the needs of this tutorial, I will likely be utilising WSL2 setting.
My actual demonstration setting consists of:
Microsoft Home windows 11, Virtualisation Layer, Home windows Subsystem for Linux (WSL2), Ubuntu 24.04 LTS
Stage 1: Getting ready the KV260 SD CardEssential Be aware for WSL2 Customers: In case you are following alongside utilizing WSL2, guarantee that you’ve got allotted enough system reminiscence (RAM) and digital disk area in your
.wslconfigfile, as FPGA synthesis and implementation are resource-intensive duties. You can too run “WSL Settings” instrument to do that.
Earlier than you may develop, deploy, or run any hardware-accelerated functions on the Kria KV260 board, the {hardware} have to be booted into a completely suitable Linux setting.
To make sure seamless integration with our Vitis 2025.2 improvement instruments, the really useful strategy is to make use of the official AMD Embedded Distribution File System (EDF) picture. This pre-built Linux distribution is particularly tailor-made and optimised for AMD adaptive SoCs (System on Chips).
1. Sourcing the SD Card Picture
First, you have to seize the proper working system picture file immediately from the official vendor repository.
- Navigate over to the official AMD Vitis Download web page.
- Find and click on on the Embedded Software tab.
- Scroll down to seek out the Kria-specific choices and obtain the next package deal: SD/Wic Image Kria Generic
Relying on the particular level launch, the downloaded file will usually arrive in your machine as a compressed disk picture file with a extension akin to .wic.xz or .img.gz.
Tip: Don’t manually extract or decompress the .wic.xz file until your particular flashing software program requires it. Fashionable flashing instruments can learn these compressed codecs immediately, saving you beneficial cupboard space and time.
2. Flashing the microSD Card
With the picture downloaded, the subsequent step is to put in writing it to your microSD card. As a result of this can be a uncooked disk picture (.wic.xz), you can not merely copy and paste the file onto the cardboard. You must use a devoted image-flashing utility to put in writing the blocks on to the storage sectors.
Step-by-Step Flashing Process
A dependable, cross-platform instrument for this course of is balenaEtcher, because it natively handles the compressed .wic.xz format with out requiring you to unzip it first.
2.1.Join the Media: Insert your microSD card into your host machine’s card reader or an exterior USB adapter. Guarantee any crucial knowledge on the cardboard is backed up, as this course of fully wipes the drive.
2.2.Choose the OS Picture: Launch balenaEtcher. Click on on the Flash from file button, navigate to your downloads listing, and choose the downloaded SD/Wic Picture Kria Generic file.
2.3.Goal the Drive: Click on Choose goal. Rigorously select your microSD card from the record of obtainable drives. Double-check the drive measurement to make sure you don’t by accident choose an exterior backup onerous drive.
2.4.Execute the Flash: Click on the Flash! button. If prompted by Home windows or macOS, grant administrative privileges to permit the software program to put in writing on to the {hardware} sectors.
2.5.Confirm and Eject: Permit the utility to complete each the Flashing part and the automated Validating part. As soon as the instrument reviews “Flash Full!”, it’s secure to take away the microSD card out of your pc.
A Be aware for Home windows 11 Customers: Instantly after the flashing course of finishes, Home windows might pop up a number of alerts saying “You must format the disk in drive X: earlier than you should utilize it”. Ignore and shut these warnings. Don’t format the drive. Home windows shows this message just because it can’t natively learn the Linux EXT4 partitions created on the cardboard by the flashing instrument.
3. Kria SOM Boot Firmware Replace
Except for having a correctly flashed microSD card, your {hardware} deployment can hit a direct roadblock in case your Kria System-on-Module (SOM) is working outdated boot firmware.
The KV260 board options non-volatile QSPI flash reminiscence built-in immediately onto the SOM module itself. This reminiscence homes the foundational factory-programmed boot firmware. As a result of AMD updates this low-level firmware to assist new platform buildings, compiler optimizations, and APIs, you need to guarantee your QSPI boot firmware model matches your Vitis 2025.2 runtime expectations. Operating newer instrument variations on legacy firmware usually leads to cryptic boot errors or XRT kernel launch failures.
Earlier than initiating the replace course of, you need to purchase the precise firmware file tailor-made to your ecosystem launch:
- Head again to the official AMD Vitis Download web page.
- Find the Embedded Software part.
- Seek for and obtain the particular boot container file:
- Filename:
k26-smk-sdt_kria boot.bin
AMD gives a built-in, web-based utility hidden throughout the Kria’s major {hardware} routine to flash this file effortlessly. You do not want devoted JTAG programmers; all you want is an ethernet cable and an web browser. Then comply with the firmware restoration/replace process described within the official AMD documentation:
Stage 2: Growing the Vector Addition UtilityNow that our {hardware} goal is ready, we transfer on to the core improvement part. On this stage, we are going to arrange the Vitis improvement setting on our host machine, configure the important cross-compilation belongings, and lay the groundwork to construct our Vector Addition (vadd) {hardware} accelerator.
This stage covers 4 key steps:
- Putting in the required improvement software program.
- Configuring the Linux goal
sysroot(the system library setting). - Creating the Vitis unified utility undertaking.
- Compiling and constructing our {hardware} accelerator.
2.1 – Set up Required Software program
The spine of our improvement setup is the AMD Vitis™ Unified Software program Platform 2025.2. This setting merges {hardware} design instruments with an ordinary software program IDE, permitting us to handle each the FPGA material structure and our C/C++ host utility beneath a single ecosystem.
To get began with the set up:
- Go to the official AMD Vitis Download Page.
- Obtain the Linux net installer or the complete product set up package deal for model 2025.2.
- Run the installer inside your improvement setting (native Linux or your configured WSL2 setting).
Essential Set up Settings: Through the package deal choice step, you need to make sure that you explicitly tick the packing containers to allow Kria KV260 platform assist and Embedded Growth Instruments. Leaving these unselected will omit the goal system architectures and cross-compilers wanted to focus on the Kria System-on-Module.
2.2 – Obtain and Configure the ZynqMP Frequent Picture
As a result of the Kria board runs an energetic Linux working system, we can’t compile our host utility with an ordinary x86 compiler. We want a cross-compiler toolkit and an remoted Linux setting blueprint that matches our board. AMD gives this pre-configured through the ZynqMP Frequent Picture package deal.
Comply with these command-line steps in your terminal to unpack and configure the goal filesystem setting:
Step 1: Acquire the Archive
Head again to the Vitis Embedded Platform tab on the obtain web site and pull down the goal bundle:
Bundle Title:xilinx-zynqmp-common-v2025.2_11160223.tar.gz
Step 2: Unpack and Set up the Atmosphere
Open a terminal in your workspace listing and execute the next sequence to extract the package deal and run the setting script:
Extract it:
tar -zxvf xilinx-zynqmp-common-v2025.2_11160223.tar.gzTransfer into the extracted listing:
cd xilinx-zynqmp-common-v2025.2/Run the SDK installer:
./sdk.sh -d .Operating the ./sdk.sh -d . command extracts a self-contained cross-compilation tree proper into the required listing. This produces a crucial folder referred to as sysroots.
This listing accommodates the similar Linux header information (.h) and pre-compiled libraries (.so) current on the bodily Kria board. When Vitis compiles your host utility code in your PC, it references this folder to make sure the binary is completely tuned and able to run on the Kria’s ARM Cortex-A53 processor with out structure conflicts.
2.3 – Create the Vitis Utility Workspace
With our foundational instruments and sysroots prepared, we are able to now open the Vitis platform and initialize our working structure. Vitis depends on a devoted listing construction referred to as a workspace to bundle your configuration maps, supply repositories, and construct timber.
Open your terminal window and execute the next instructions to create your clear workspace listing and launch the appliance platform:
mkdir vadd_workspace
cd vadd_workspace
vitis -w .
Bash shell on WSL2 Ubuntu Linux
After a number of moments, the fashionable, web-style structure of the Vitis Unified IDE will open up immediately in your desktop.
2.4 – Import the Easy Vector Addition Instance
Slightly than forcing you to put in writing {hardware} description frameworks or advanced driver hyperlinks from scratch, AMD packs totally optimized codebase fashions proper into the Vitis set up.
To import our commonplace “Whats up World” accelerator package deal:
1.Open the Examples Interface: Take a look at the central display interface. Contained in the energetic Welcome tab dashboard, click on on the Examples tile.
Examples hyperlink in Vitis IDE
2.Find the Acceleration Template: Within the complete repository index that seems, browse down by means of the acceleration classes or use the search bar to find the Easy Vector Addition (vadd) design entry.
3.Initialize the System Builder: Click on on the template description card to show its particulars. Look over to the proper aspect of the tab view and click on the motion hyperlink titled Create System Mission from Template. This triggers the built-in system undertaking setup wizard.
2.5 – Configure the Goal Structure Mission
The system undertaking setup wizard will information you thru mapping the template to your bodily board and cross-compilation setting belongings. Proceed by means of the wizard configurations utilizing these actual parameters:
1. Title the System Mission
On the preliminary configuration panel, go away the system structure identification set to its default possibility (vadd) or select a personalised various, then click on Subsequent.
Create System Mission: Title and Location
2. Choose the Kria Goal {Hardware} Platform
You will notice an architectural record of goal goal playing cards. Search for and spotlight the baseline package deal matching your analysis package structure:
- Platform Choice:
xilinx_kv260_base_202520_1
As soon as chosen, proceed by clicking Subsequent.
Create System Mission: Choose Platform
3. Mount your Cross-Compilation Sysroot Path
That is the place we join the Linux setting libraries we constructed earlier. On the configuration web page:
- Click on the Browse button located subsequent to the Sysroot parameter goal subject.
- Navigate your workspace listing to focus on the exact folder structure generated by your earlier
sdk.shsetting run:xilinx-zynqmp-common-v2025.2/sysroots/cortexa72-cortexa53-amd-linux - Choose that particular folder path, hit open, and click on Subsequent.
Create System Mission: Embedded Part Paths
4. Finalize the System Goal Technology
Assessment your asset mapping abstract parameters, and click on the End button icon.
Create System Mission: Abstract
When you hit end, Vitis initializes its background construct engines. After a short technology delay, your full system design undertaking tree will seem inside the first IDE Explorer side-panel structure.
Take a number of moments to click on by means of the folders and open the supply information to watch how the host software program manages buffer streams whereas the {hardware} kernel executes parallelized vector arrays.
2.6 – Constructing the Utility Stack
With our undertaking totally configured, now we have arrived on the most computationally intensive part of our workflow: compiling the system. As a result of this can be a heterogeneous system (which means it accommodates each an ordinary CPU processor and programmable FPGA logic), the construct system has to run two totally completely different compiler pipelines in parallel, then sew them collectively.
To execute the system construct throughout the Vitis Unified IDE:
- Find the FLOW navigator panel (usually discovered on the left or proper fringe of your display interface).
- Discover your major system element entry labeled
vadd. - Beneath its motion listings, click on on the Construct All command possibility.
A configuration immediate will slide down asking you to verify your goal parts. Make sure that the checkboxes for each vadd_host (the ARM software program binary) and vadd_vadd (the {hardware} kernel logic block) are actively ticked, then click on OK.
What Occurs Behind the Scenes?
While you set off the compilation sequence, Vitis launches a multi-stage background pipeline that converts your summary C++ supply code into uncooked bodily digital configurations and machine binaries. The pipeline strikes sequentially by means of the next heavy-duty engineering phases:
C/C++ Host Compilation: Compiles vadd.cpp (or host.cpp) right into a native ARM-A53 Linux executableHLS Kernel Synthesis: Excessive-Stage Synthesis converts kernel C++ into RTL (VHDL/Verilog)Vivado Implementation: Performs bodily Place & Route contained in the FPGA silicon arrayBitstream Technology: Creates the uncooked configuration bit structure for the logic gatesXCLBIN Packaging: Merges the bitstream with metadata into an AMD extensible binary
Don’t be alarmed in case your improvement setting seems to “freeze” or your pc followers instantly spin as much as most velocity. Synthesizing {hardware} logic requires a large quantity of algorithmic computation.
The full construct period relies upon closely in your host machine’s processing energy.
System Useful resource Tip: Through the Vivado Implementation part, the compiler might eat wherever from 8 GB to 16 GB of system RAM concurrently. Shut any non-essential background duties, net browsers, or heavy improvement environments in your host working system whereas this course of runs to stop out-of-memory crash errors.
As soon as the construct finishes efficiently, Vitis will generate a group of deployment information in your output listing, able to be transferred on to our bodily Kria board.
Stage 3: Transferring Generated Recordsdata to the KV260 BoardWith the compilation efficiently completed, your host workstation has generated the required deployment binaries. To execute this utility on-target, we should switch a selected set of 4 operational information onto our bodily Kria KV260 board.
These parts inform the goal Linux kernel easy methods to remap its bodily {hardware} strains, load our customized logic gates into the programmable logic material, and execute our binary host management loop.
Sourcing the 4 Required Recordsdata
Earlier than beginning the community switch, create a brief deployment listing in your improvement machine and collect the next information out of your compilation tree:
1. The Programmable Logic Gadget Tree Overlay (pl.dtbo)
- Supply Location:
/2025.2/Vitis/base_platforms/xilinx_kv260_base_202520_1/sw/boot/ - Function: This can be a compiled Linux Gadget Tree Overlay file. As a result of an FPGA can fully change its inside peripheral interfaces at runtime, the working system wants this file to dynamically perceive the newly instantiated {hardware} buses, interrupt configurations, and reminiscence channels without having a full system reboot.
2. The FPGA Container Binary (vadd.xclbin)
- Supply Location:
/vadd/construct/hw/hw_link/ - Function: That is our core AMD Extensible Platform binary file. It encapsulates the compiled {hardware} accelerator kernel logic, goal routing constraints, and structural bitstream mappings generated by our Vivado and HLS compilation engines.
Be aware: you might must rename the file into vadd.bin.
3. The Management Loop Software program Executable (vadd_host)
- Supply Location:
/vadd_host/construct/hw/ - Function: This file is a compiled native Linux ELF binary engineered particularly for the Kria board’s 64-bit ARM Cortex-A53 processor cores. It controls knowledge marshalling, assigns reminiscence buffers, hundreds our
.xclbinstructure, and measures efficiency.
4. The Shell Configuration Metadata (shell.json)
- Supply Location:Consumer Created (Manually written configuration snippet)
- Function: The Kria firmware setting leverages a utility framework referred to as the Xilinx Useful resource Supervisor (XRM) to soundly provision {hardware} accelerations. This brief metadata snippet explicitly directs the system to instantiate our design as a single, static acceleration block.
To create this file, open your terminal or your favorite command-line textual content editor (akin to nano or vi) and generate a plain textual content file named precisely shell.json:
{
"shell_type" : "XRT_FLAT",
"num_slots": "1"
}
Booting and Getting ready the KV260 Board for Execution
Along with your deployment information safely generated, it’s time to shift over to the bodily {hardware}. This step covers booting your Kria KV260 board, establishing the required goal system directories, and making ready our host binary for execution.
Step 1: Booting the {Hardware} & Establishing a Connection
To start, guarantee your board is totally powered off.
- Insert your freshly flashed microSD card into the slot positioned on the underside of the KV260 service card.
- Join your community through an Ethernet cable, and plug a micro-USB cable from the board’s micro-USB UART port to your host workstation.
- Plug within the 12V DC energy adapter as well the system.
You’ll be able to work together with the reside Linux working system working on the board utilizing two major connection channels:
- Serial Console (UART)PuTTY, Tera Time period, Minicom
- Community Shell (SSH) OpenSSH Terminal, PuTTY
Step 2: Creating the Firmware Listing Construction
The Kria platform’s runtime firmware stack expects customized {hardware} overlays to reside in a selected, protected system listing. This enables the built-in system instruments to seek out, parse, and cargo your customized bitstream parts safely.
Open your serial terminal or SSH into your board (logging in along with your commonplace goal credentials), and execute the next instructions to create the designated firmware goal repository:
sudo mkdir -p /lib/firmware/xilinx/vaddStep 3: Positioning the Deployment Recordsdata
Now, you have to relocate the 4 information you ready earlier into their remaining operational areas on the Kria board’s filesystem. You’ll be able to execute this switch utilizing interactive GUI instruments like FileZilla (through SFTP), or commonplace terminal instruments just like the scp utility.
The dynamic system configuration information, {hardware} bitstreams, and metadata layouts should reside contained in the newly created /lib/firmware/xilinx/vadd listing. Transfer these three particular parts there: pl.dtbo,vadd.xclbin (vadd.bin), and shell.json.
Not like the firmware overlays, the vadd_host executable doesn’t must reside inside the basis system firmware tree. You’ll be able to retailer and run this file from any location you favor inside your person area (akin to /house/petalinux/vadd_project/).
By default, information transferred over community protocols or copied out of uncooked compilation workspaces usually lose their executable privileges. Earlier than Linux will can help you run the management loop software program, you need to manually alter its safety permissions flags.
Navigate to the listing containing your vadd_host file and run the next command to make it universally executable:
chmod uog+x vadd_hostAt this stage, your setting is completely ready, your {hardware} belongings are of their appropriate system directories, and your host software program is totally cleared for execution.
Stage 4: Operating and Verifying the UtilityWe’ve arrived on the remaining and most rewarding part of our workflow: executing our code and witnessing {hardware} acceleration reside on the Kria KV260.
To realize this, we are going to first use the Kria platform utilities to dynamically program the FPGA material with our vector addition logic, after which run our software program host utility to manage and confirm the computation.
Step 1: Loading the {Hardware} Accelerator through xmutil
The AMD Kria platform makes use of a strong command-line utility referred to as xmutil (Xilinx Machine Utility). This instrument lets you safely question, unload, and dynamically hot-swap the {hardware} accelerators working contained in the programmable logic with out restarting your Linux setting.
Open your energetic terminal session on the Kria board and execute the next sequence of instructions:
1. Examine the obtainable {hardware} functions in your system
sudo xmutil listapps2. Unload the default pre-loaded manufacturing unit utility to unencumber the FPGA slot
sudo xmutil unloadapp3. Dynamically load your newly created ‘vadd’ accelerator overlay
sudo xmutil loadapp vaddWhat’s taking place beneath the hood?
listapps: Scans the/lib/firmware/xilinx/listing we configured within the earlier stage. It is best to see yourvaddentry listed as an obtainable slot possibility.unloadapp: Clears out the present bitstream, resets the FPGA clock configurations, and prepares the material to obtain a brand new system map.loadapp vadd: Instructs the Linux kernel to learn yourshell.jsonconfiguration, register the {hardware} strains through yourpl.dtbodevice-tree overlay, and push your customized accelerator into the energetic FPGA material.
Step 2: Operating the Host Executable
With the FPGA totally configured with our vadd accelerator {hardware}, we are able to now launch our host utility. The host binary accepts the compiled acceleration binary package deal as a goal command-line argument.
Navigate to the person area folder the place you saved your vadd_host utility file, and run the execution command:
./vadd_host -x vadd.binBe aware on Naming Conventions: Relying in your particular compilation and script choices, your output {hardware} container may nonetheless be named
vadd.xclbinorvadd.bin. Make sure that the parameter you move after the-xflag matches your file’s actual filename on the board.
Verifying the Acceleration Outcomes
As soon as launched, the host software program will initialize knowledge arrays in system RAM, map these buffers on to the FPGA logic over the interior high-speed reminiscence buses, set off the accelerator execution, and evaluate the {hardware} output mathematically in opposition to a baseline CPU take a look at loop.
If all the things is configured appropriately, your terminal will spit out a validation readout concluding with this milestone message:
Seeing TEST PASSED confirms that your multi-stage improvement, cross-compilation, firmware updating, and community deployment pipeline is totally operational. You might have efficiently taken a chunk of high-level C++ code, reworked it into low-level bodily routing gates on an FPGA, and executed it on an edge-AI improvement platform!